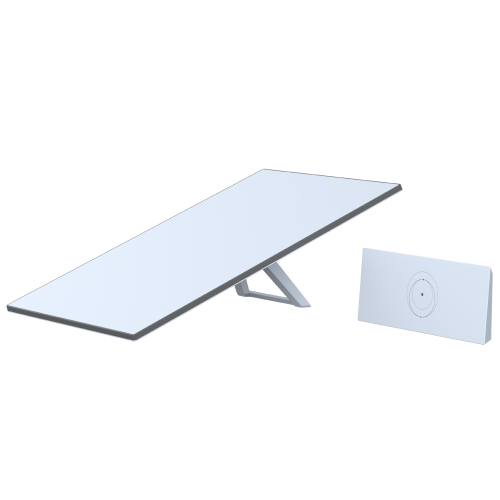

Starlink Standard Kit
Helpful Tools
- Setup Guide PDF / Permanent Installation Video
- Standard Starlink Specs Guide PDF / Starlink Standard Specs (webpage)
- Accessory Guide PDF
- Wall Mount Installation: Video / Install Guide PDF
- Pivot Mount Installation: Video / Install Guide PDF
- Pipe Adapter Installation: Video / Install Guide PDF
- Gen 3 Router Mount Installation: Install Guide PDF
- Power Supply Mount Installation: Install Guide PDF
- Mobility Mount Installation: Install Guide PDF
- Standard X-Frame Base: Install Guide PDF
- Standard to Standard Actuated Mount Adapter: Install Guide PDF
What’s included with my Starlink Kit?
- Standard Starlink
- Kickstand
- Gen 3 Router
- Gen 3 Starlink Cable (15 m or 49.2 ft)
- AC Power Cable (1.5 m or 4.92 ft)
- Power Supply Unit
1. Getting Started After unboxing your Starlink Kit, lift the kickstand and plug one end of the provided Starlink cable into your Starlink. Make sure the the cable locking feature is facing up, and the Starlink cable is sitting flush inside your Starlink.
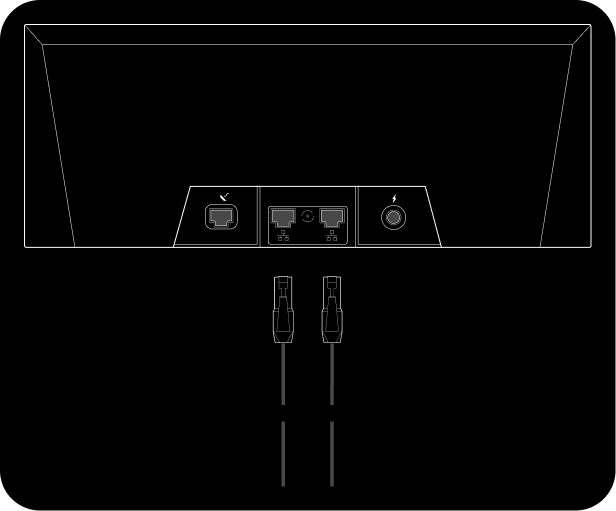
Then route the other end of the Starlink cable to your router, and plug it into port #1, as indicated with the Starlink symbol on the back of the router with the cable locking feature is facing down.
Now that the kit and router are connected, plug the power cable into the power supply, and the other end into the router.

2. Setting Up Starlink Your Starlink needs a clear view of the sky so it can stay connected with satellites as they move overhead. Objects that obstruct the connection between your Starlink and the satellite, such as a tree branch, pole, or roof, will cause service interruptions. Click here for video guidance on obstructions

To find a location with a clear view of the sky:
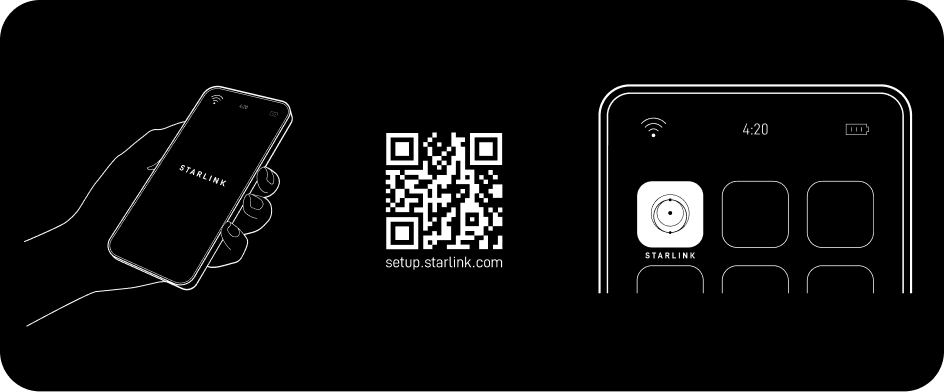
a. Download the Starlink App.
b. Use the “Check for Obstructions” tool to find an install location that will deliver the best service.
c. For best results, use the kickstand to tilt Starlink
If you could not find a clear field of view from the ground level, consider installing in an elevated location, like a roof, pole, or wall. Additional mounts and accessories are available for purchase on the Starlink Shop.
3. Align Starlink and Get Connected Your Starlink Kit will need to face in the right direction to connect to the most amount of satellites above for the strongest connection. Setup Starlink, and be sure that the kit is tilted by using the kickstand. Click here for additional guidance on the Alignment Tool.
Open the Starlink App on your device. Once connected, the app will alert you if you need to rotate your Starlink to be properly aligned. Click the alert to use the tool, and adjust your kit to match the image on your device.
- Note: If your Starlink is aligned within 5°, the app will not alert you and your Starlink is aligned.
For additional guidance for the Alignment Tool, click here What is the Alignment Tool and how do I use it?
4. Getting Connected
a. Connect to the STARLINK network from your device WiFi settings.
- ‘STARLINK’ is the router’s default WiFi network name (SSID).
b. To secure your Starlink WiFi network, use the Starlink App to rename your Starlink WiFi network and create a WiFi password. Open the Starlink App > Settings > Router > enter desired WiFi network name and password > Save.
- This step is optional, however we recommend securing your WiFi network. Your Starlink WiFi network is not password protected until you set the password.
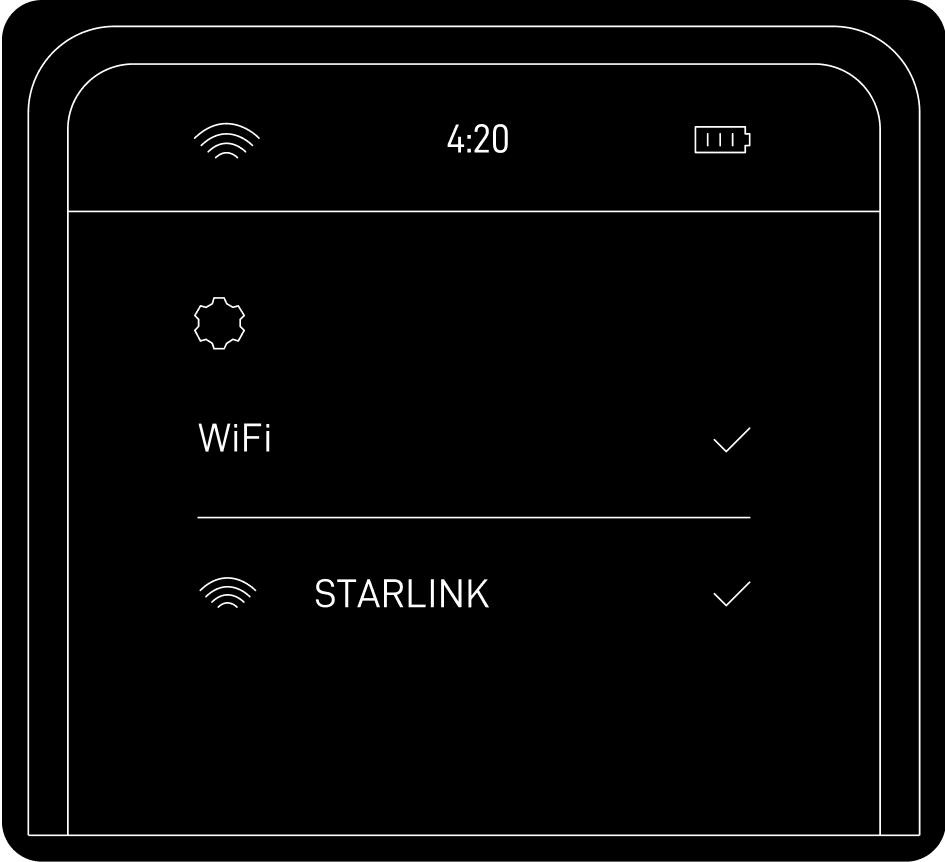
c. You are now connected! To customize additional settings, check your connection, and more, visit the Starlink App.
What does the light on the router mean?
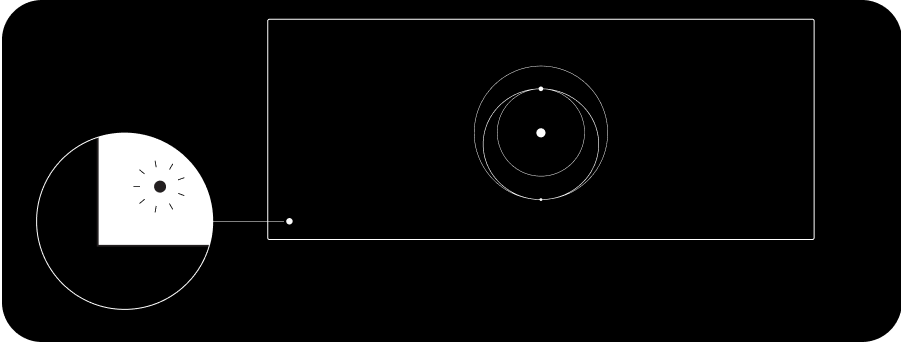
The light of the router determines the status of the router, as defined below:
- Flashing White Light – Trying to connect. The light will turn solid white when setup is complete and the router is connected to the internet, or solid red if the router cannot get a connection to the internet in 20 minutes.
- Solid White Light – Connected to internet. Will turn off after 1 hour.
- No Light – No power to router. With good connection, the light will turn off after 1 hour.
- Red Light – Not connected to the internet.
- Violet Light – Router is in bypass mode. Will turn off after 1 hour. Factory reset required to exit bypass mode
Using the Extra RJ45 Ports Remove the RJ45 cover on the back of the router, and plug in your own ethernet cable to port 1 or 2. Connect the other end of your cable to your third-party hardware.
Recommended Topics:
I cannot get online during initial setup
Where should I install my Starlink?
Can’t find what you’re looking for? Contact Support.
Order Starlink – Easy Self-Install
Upgrade Your Internet & Connect with Starlink. High-Speed Connectivity Anytime, Anywhere.
DM•Text•Call 24/7 Support
info@starlinkinstallerskenya.com
+254100720022 / +254720548999
www.starlinkinstallerskenya.com
TikTok; @starlink.kenya


Leave a Reply