HOW TO SETUP
First you must ensure the Starlink router is either freshly unboxed or factory reset. IP should be 192.168.1.1 (factory reset procedure is in the last paragraph of this guide)
Connecting equipment.
Laptop should be connected directly to the ethernet adapter with DHCP enabled. Alternatively you can connect to the WIFI “STINKY” or “STARLINK”.

- Navigate to the 192.168.1.1 site in your browser
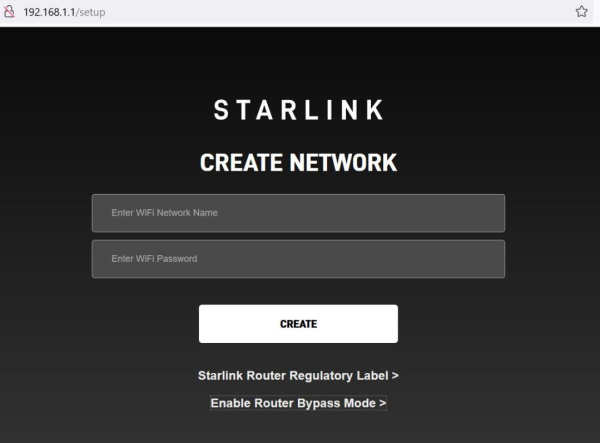
2.Click “Enable Router Bypass Mode”
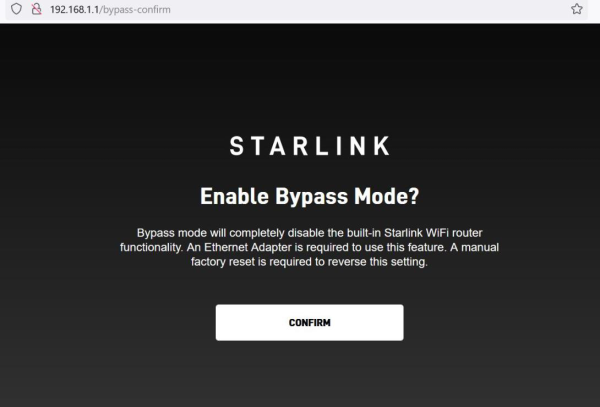
3.Click “Confirm” – Your IP should now change from 192.168.1.0/24 range to 100.0.0.0/8 range
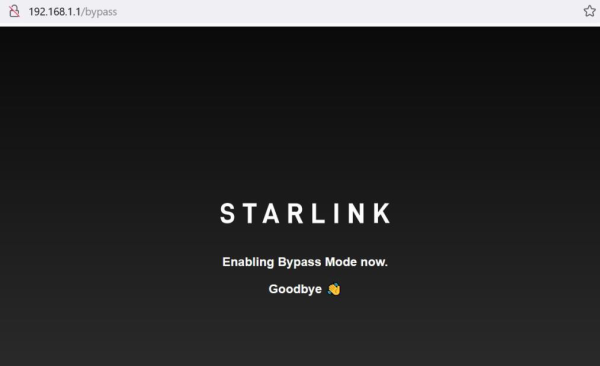
4.Verify you get the correct IP in the 100.0.0.0/8

Factory reset:
If you encounter any issues during the setup or use of your router, you can factory reset it.
Starlink App (recommended):
Connect to your Starlink WiFi network and open the Starlink App.
Tap Settings > Factory Reset.
Drag the slider to factory reset your Starlink router.
Gen 3 Router:
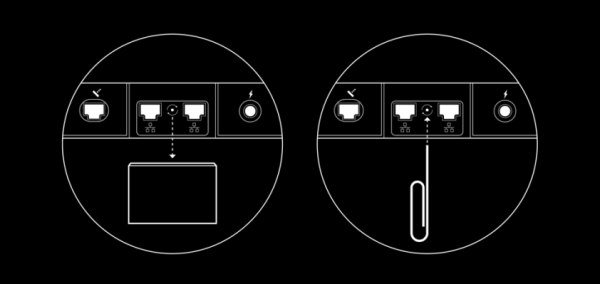
Locate the reset button on the back of the router, between the two RJ45 ports.
Using a paper clip (or something similar), gently press and release the reset button.
The light will rapidly blink white when you release the reset button, then slowly blink white as it reboots (this will take a few minutes).
Gen 2 Router:
Power cycle Starlink (unplug the router from power and then plug back in) 6 times in a row. 2-3 seconds between plug and unplug.
The router will take a few minutes to reboot, and will interrupt your service until you set up again. You can expect the light on the bottom of the router to be illuminated when complete.

Order Starlink – Easy Self-Install
Upgrade Your Internet & Connect with Starlink. High-Speed Connectivity Anytime, Anywhere.
DM•Text•Call 24/7 Support
info@starlinkinstallerskenya.com
+254100720022 / +254720548999
www.starlinkinstallerskenya.com
TikTok; @starlink.kenya


Leave a Reply